Electric Central
Car Fault Diagnosis Instrument Code Reader
Car Fault Diagnosis Instrument Code Reader
Couldn't load pickup availability
SPECIFICATIONS
Item Type: Code Readers & Scan Tools
Features:
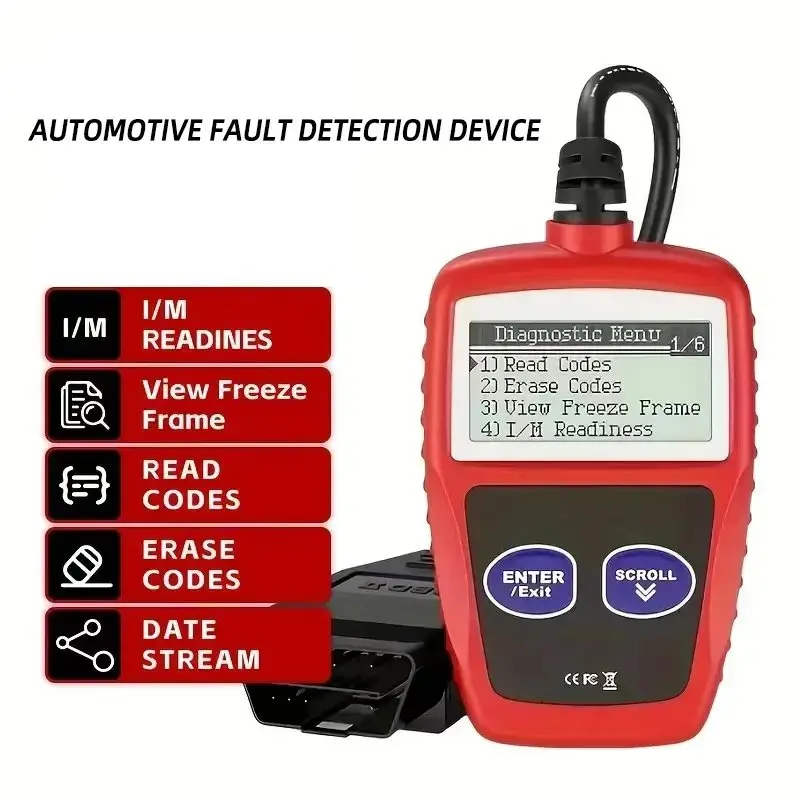
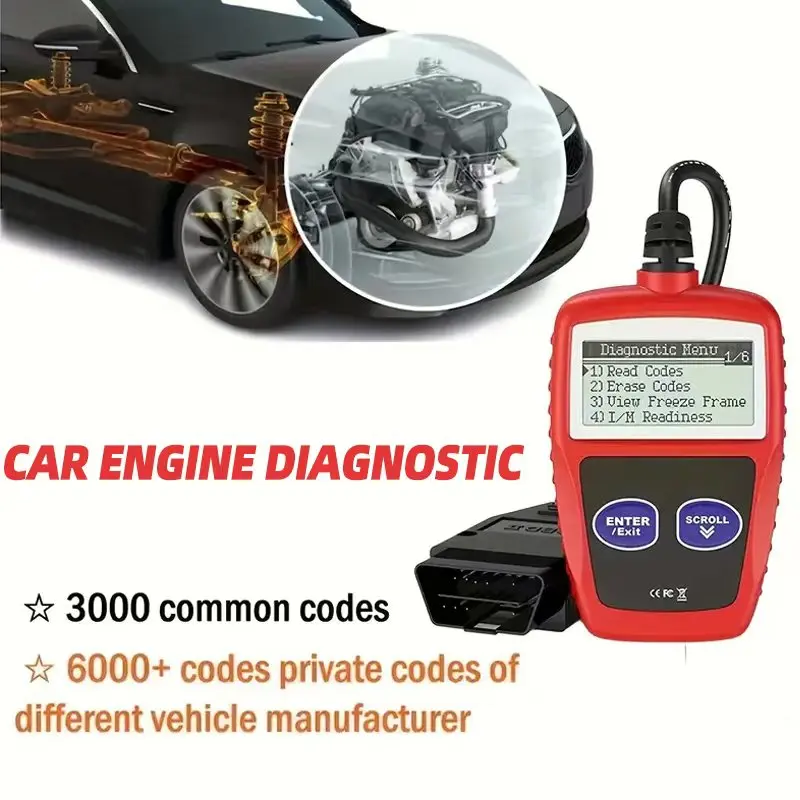
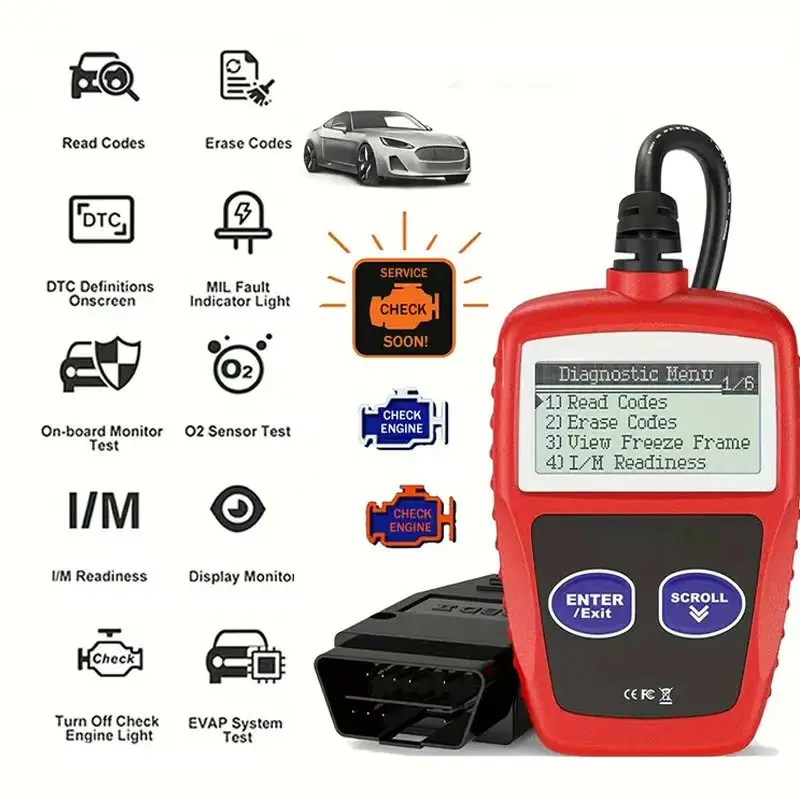
1.Retrieves generic and manufacturer specific Diagnostic Trouble Codes(DTC),includes definitions lookup software on CD and displavs DTC defnitions on screen
2.Features alarge easy-to-read backlit LCD screen,multilingual menu and DTC definitions and standard 16-pin OBD-lI connector: no additional cables are needed.
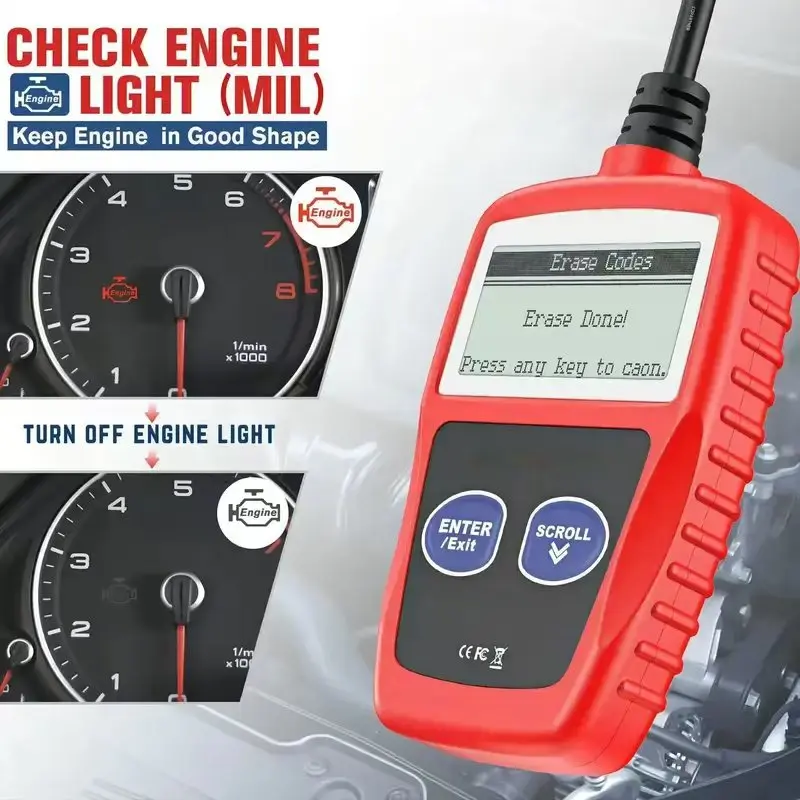
3.Views freeze frame data, displays monitor and l/M readiness status, turns off Check Engine Light(MlL),clears codes ano resets monitors.
4. Supports the CAN (Controller Area Network) protols and all other current OBD-ll protocols.
5.Works with all OBD-ll compliant U.S., European and Asian vehicles(OBD- is standard on all cars sold in U.S post-1996).
Specifications
Product Name: Automotive Fault Detection Instrument
Main control chip: single chip
Voltage: 12V
Working temperature:-40~65(°C)
Supported languages:English,German,Dutch,SpanishFrench
Package included:1x car diagnostic tool,1x manual
Using the Scan Tool Procedures:
1) Turn the ignition off.
2)Locate the vehicle's 16-pin Data Link Connector(DLC)
3)Connect the Scan Tool cable connector to the vehidle 's DLC.The cable connector is keyedand will only fit one way,if you have problems connecting the cable connector to the DLC, rotatethe connector 180 and try again.
4)Turn the ignition on. But do not start the engine
5)When the Scan Tool cable connector is properly connect to the vehicle's DLC,the LCD displayshows instructions for select New Scan.
6)Press the New Scan button,A sequence of message showing the OBD2 protocols will be observedon the display until the vehicle Protocols.
Note:
If the Scan Tool fails to communicate with the vehicle's computer,an Unable to establish a link with the vehicle message shows up.
-Verify that the ignition is ON.
-Check if the Scan Tool's OBD2 connector is securely connected to the vehicle's DlC
-Verify that the vehicle is OBD2 compliant
-Turn the ignition off and wait for about 10 seconds. Turn the ignition back to on and repeat the procedure from the step 6.


Share


